 American car Papercraft
1963Chevrolet Impala (1/24) Instruction
# When parts name is not displayed definitely ---
Click a button of "Show parts name" of "Pepakura Viewer".
Parts name is displayed on "2D Pattern Window".

print settings
Please do "print setting" as follows.

Click "File "→" Print Setting", and let me display the left screen.
1. Please choose "Print lines clearly(Vector print)".
2. Please set "Resolution (for bitmap print)" in "Very High".
Print becomes slow, but this setting is necessary.
1.Assembling of the reinforcement
01.Use parts 01-a
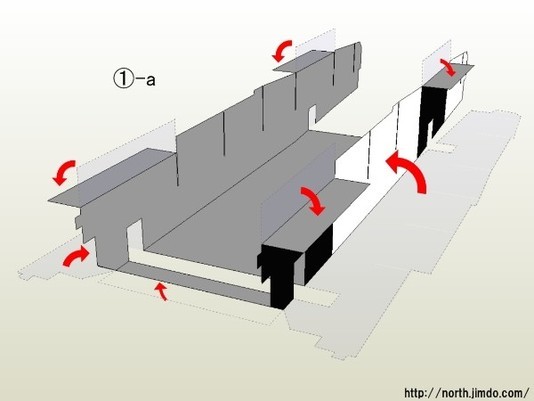
Use "part A" for the assembling of the reinforcement.
As shown, bend it, and let's assemble it.
02.Use parts 01-b
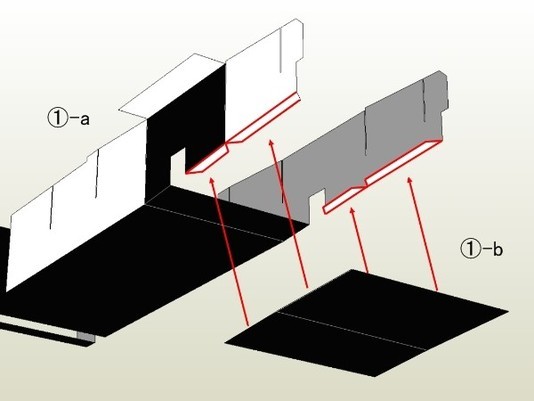
As shown, Glue part 01-b together.
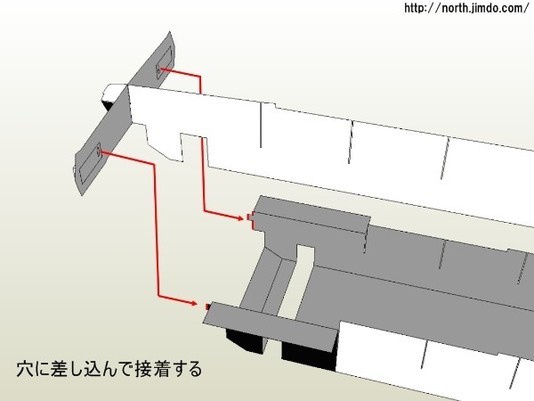
3.Use parts 03,04,12

After having assembled parts04 and 12, Insert it in parts03 and adheres.
4.Use parts
Insert the projection of the chassis front part in a cut of part 04 and adhere.
5.Use parts 5,6,7,8,9,10
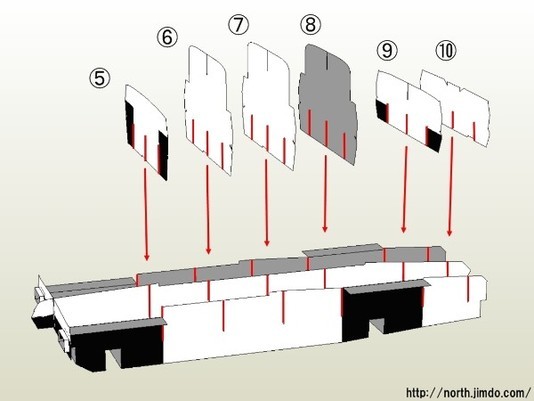
Please each glue parts together.

Only 08 do a print side backward, and please adhere.
6.
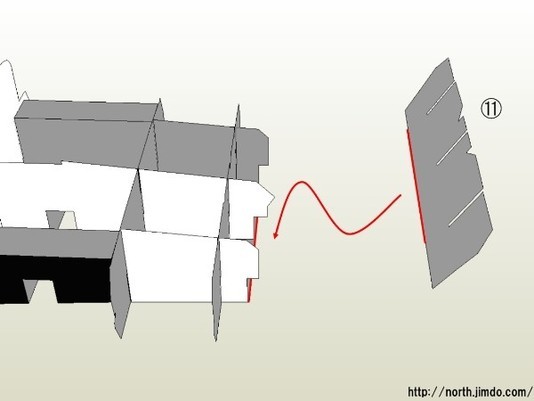
Glue part 11 together. Please put bottom of part 11 together first in the posterior chassis.
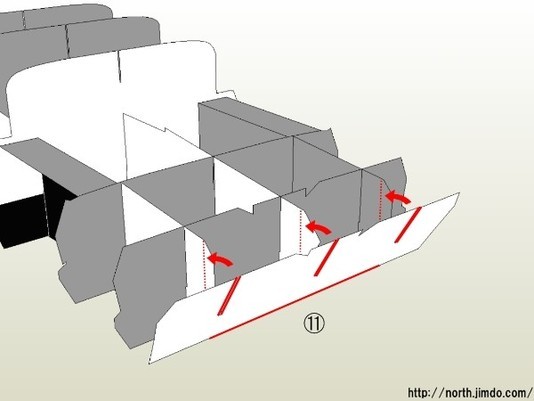
Please insert an upper cut while merging the bottom.
7.Use parts 02
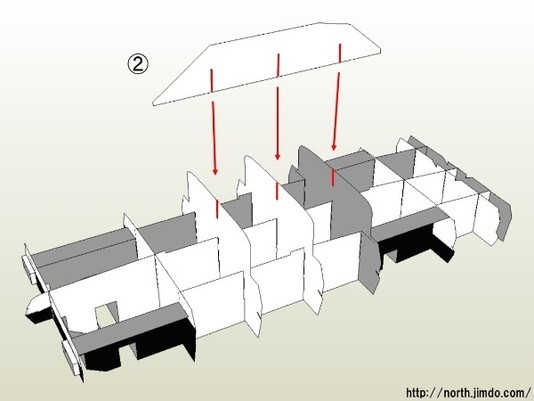
Insert part 02 in a cut, and please adhere.
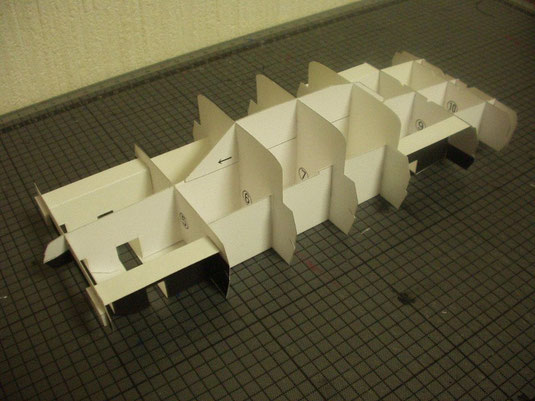
8.Completion of the reinforcement
From the next page, be assembled the body.